It is our responsibility to make seeds and help keep seeds in the hands of the many, not simply in the hands of a few. This is a monumental task, and we hope you participate.
Make your own seeds, please.
We encourage participants in the future of seed making for humanity.
– Jason Matthys, Founder of Equilibrium Genetics 🌱🌱🌱
How To Make (Regular) Cannabis Seeds
Step 0: Learn Your Cannabis Growing Rights
Check your local city or county laws and regulations for their updated information.
You can read a “Patients’ Guide to Medical Marijuana Law in California” and learn more by visiting: How Many Plants Can I Grow and Where Can I Grow Them?
Step 1: Select the Characteristics You Want
Before starting any breeding project, you will want to have a good understanding of what characteristics you want to create. You should also ask yourself for what main reason do you want to create a new variety. It could be that you want to help preserve landrace and heirloom genetics, you have a limited supply of genetics that you wish to expand, or you want to try enhancing the traits of a particular variety.
Step 2: Consider the Genetics
The male plants should possess the characteristics you wish to add to another. For example if you wanted to make a fruity tasting sativa more potent by crossing it with an indica kush, the male plant should be the kush. If the male plant in this instance was the sativa, then the potency of the kush may decrease in the genetics of the resulting seeds.
Step 3: Plant Seeds and Catalog Them
The most successful way to produce true diversity when creating a variety is working with many possible selections of seeds. You should start enough seeds to select an ideal male, and to also have a good ratio of male and female plants.
Label Your Pots
Labeling your pots helps to prevent confusion further down the line.
When you number the seeds, you simply need to write, for example, ‘Chocolate Hashberry #1, Chocolate Hashberry #2, Chocolate Hashberry #3, etc …’ until you have around 10 of these. Then do the same with another variety, for example, ‘Heirloom Malawi #1, Heirloom Malawi #2, Heirloom Malawi #3, etc …’
Take Notes
During the entire growing process, you should be taking notes on paper to document their size, vigor, and growth patterns, as well as checking the root growth when transplanting.
Step 4: Determine the Sex and Select the Keepers
During the vegetative stage you will have a better idea of which plants stand out as keepers, in terms of vigor and stature.
At this point, you may choose to take cuttings and keep a living copy of each plant. Be sure to label them accordingly.
As the plants transition from the vegetative stage into flowering, you should identify which are male and which are female.
This is the most exciting time as a breeder, and selecting the best male and female of the bunch is what breeding is all about.
You will be able to tell the male plants as they naturally appear a few weeks earlier than female flowers. The reason is to help them better synchronize with successful pollinating times so the pollen has a chance to interact with female flowers early on. Male plants will have small ball shaped flowers in a cluster whilst female flowers will look like a blade of grass with a tiny white hair protruding from the inside.
When you have decided which of the plants you will select for the final pollination, then you must isolate them in an environment where the male pollen can interact with the female flowers.
You should be very careful to not jeopardize any other flowering cannabis plants and neighboring gardens, as pollen drifts in the air.
Step 5: Flowering
As the male flowers begin to form, the female pre-flowers will begin growing multiple white hairs. The best time to pollinate the female is when the flowers are two to three weeks old; this allows for two to three months to produce ripe healthy seeds.
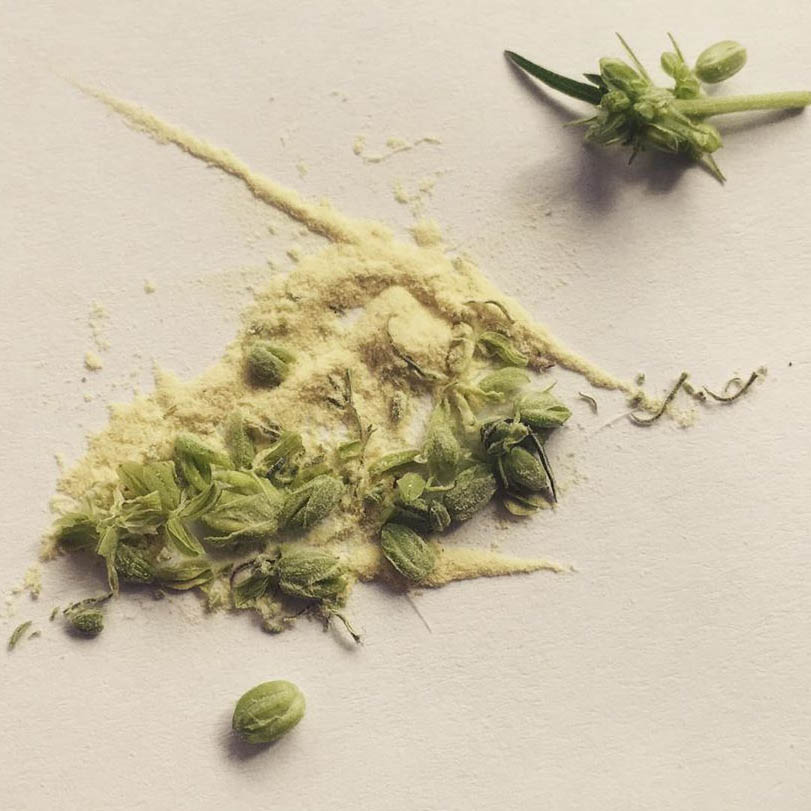
The male flowers will open like miniature claws that will look like small bright yellow bananas, after the third to fourth week. Under closer inspection it will appear there are a bunch of the miniature bananas hanging off each male flower. These will open on their own accord, and when they do you will know as the tiny pollen sacks become dry and produce a light yellow fine powder. It does not take a lot of pollen to successfully pollinate an entire plant so here you have a chance to collect the pollen in parchment paper, label it, and then store it away in a safe and dry place.
Step 6: Successful Pollination and Colored Pistils
By this point the pollen will have naturally transferred to the female pistils. You should notice that they have changed from a white color to either brown, red, or orange. This means the pollen has travelled inside the flower, and the calyx will swell into a seed.
If you are pollinating by hand, then a simple wave of a male dusty flower will do the job of making the initial pollination. When you get to this stage, your main priority is to ensure there is enough time to allow for every single seed to harden off and become ripe. At this point the male plant can be removed from the area and discarded.
As an option, you may have taken a cutting of the male plant, or collected its pollen, for later stages of stabilizing the genetic line.
As the weeks go by, you will observe the female plant swelling with pip formations all over. As the seeds begin to swell, you will notice the outer layer of the calyx begin to reveal the developing seeds inside. As long as there is adequate food and lighting as if you were caring for any other flowering cannabis plant, then you can count on harvesting all of the seeds within approximately two to three months, depending on the genetics and growing environment.
Step 7: Check the Seeds for Ripeness
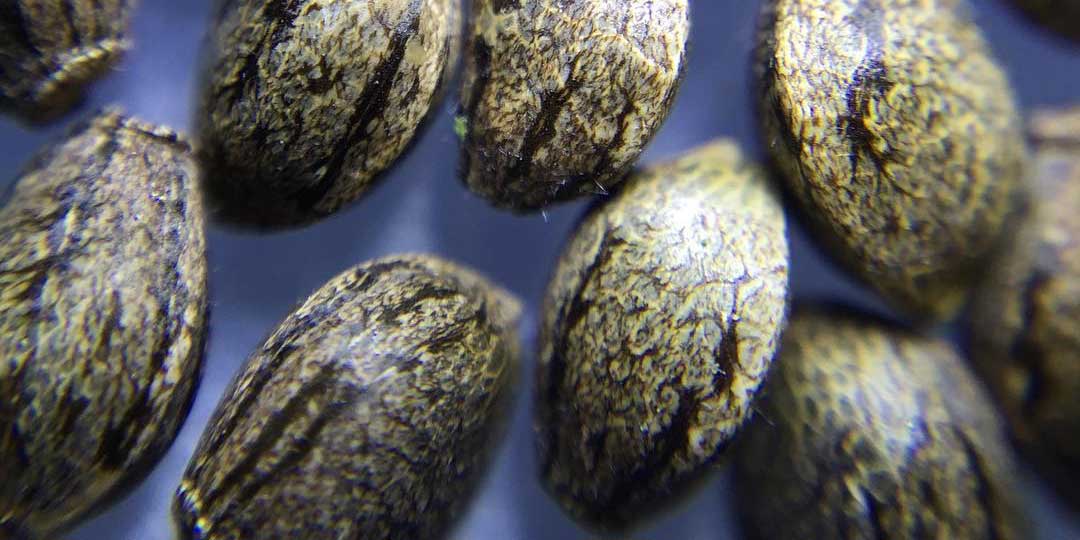
As harvest approaches, you can begin to check the seeds to see how close they are to completion. Seeds which are undeveloped will usually appear either white or light green. Good quality seeds will be hard to the touch, tiger striped or patterned, and have matured to a nice golden brown shine.
When you know the seeds are strong viable seeds they can be harvested and shaken out of their pouches onto a clean surface where they can be cleaned up, labelled, and stored for testing.
Step 8: Labeling and Storage
Once you have harvested the seeds, you need to keep them dry and in a dark place away from sunlight and moisture. Label the seeds correctly by first listing the female, and then the male. For example, “Chocolate Hashberry ♀ x Heirloom Malawi ♂” is a variety created by Equilibrium Genetics and named Chocolate Malawi.
As an option, you may have collected some pollen, as well as made clones of the male and female you used. By taking these advanced steps, you can stabilize the genetic line by breeding the same father to a female from the new generation of seeds.
Step 9: Test the First Generation
This is the stage you have waited for, so to see how those seeds germinate, or do not germinate, can be tense. A popular method for germinating seeds is to place a spoonful in a glass of warm water, and then place the glass in a cabinet in the dark.
Once a day you should check on the seeds, give them a friendly swirl, and carefully replace their water. After 24 to 72 hours, your seeds should germinate with protruding white tails and a splitting shell.
For testing, it is good to grow many small plants, see what the general characteristics are like, and how much variation there is. When you have tested the seeds and they all germinate and grow well, you can compare notes and see how this line you have created has improved from their parental lineage. You will notice different phenotypes, and depending on how happy you are with the level of stability, it can be recommended at this stage to stabilize the line using the original male pollen.
Step 10: Stabilize the Line
At this point it is a good idea to pollinate a female from the first generation seeds and stabilize the line to create a second generation line of seeds. If you have some of the stored original male pollen in parchment paper then this can save the entire process of keeping a cutting of the male alive, as well as ensure that the pollen being used is the same as the first. This ensures that the plants will grow as uniform as possible with little variation and extended hybrid vigor.
The second generation of seeds that will be produced are called F2s and should be labelled and stored as such. This process can continue until a fourth and fifth generation exist, however you will often find after the third generation, the plants are totally dialed in and possess the hybrid vigor that you set out to create in the first place.
Things To Consider:
How Much Pollen Do I Need?
Under a microscope pollen vibrates and never stops moving until it has found a viable host. A small quantity of pollen, for example a gram of dry powdered pollen, could pollinate an entire garden of flowering females. A popular method for making seeds is to delicately pollinate only a lower branch of a female by using a small paint brush to apply the appropriately stored and labeled pollen.
What If Pollen Gets Wet?
If pollen gets wet, it can make the pollen inactive and useless. Exercise caution while watering your flowering plants, and when storing pollen.
Seeds Are Not Germinating Well and Plants Are Mutated
There can be a number of things that can go wrong, including germination problems, mutated plants growing with 3 or 4 leaves at a time, plants that slow down growth after a few weeks, as well as seedlings that grow with thin weak characteristics and collapse on themselves and never recover. If this occurs, then the batch of seeds should be discarded. It is much better to try all over again, and next time use a different male or female and see if the quality improves from the new lineage of seeds.
Learn About Seed Preservation
Nature intends for evolution to occur and when plants struggle to perform well, then this can be nature’s way to say “you must keep on trying” to make great cannabis seeds, while also learning about the dire need to preserve and share landrace and heirloom genetics.
It is our responsibility to make seeds and help keep seeds in the hands of the many, not simply in the hands of a few. This is a monumental task, and we hope you participate.
This article is based on a guide by Stoney Tark originally published on SoftSecrets.com. Soft Secrets Magazine has been a leading source of cannabis information for growers and users worldwide, since 1985.